
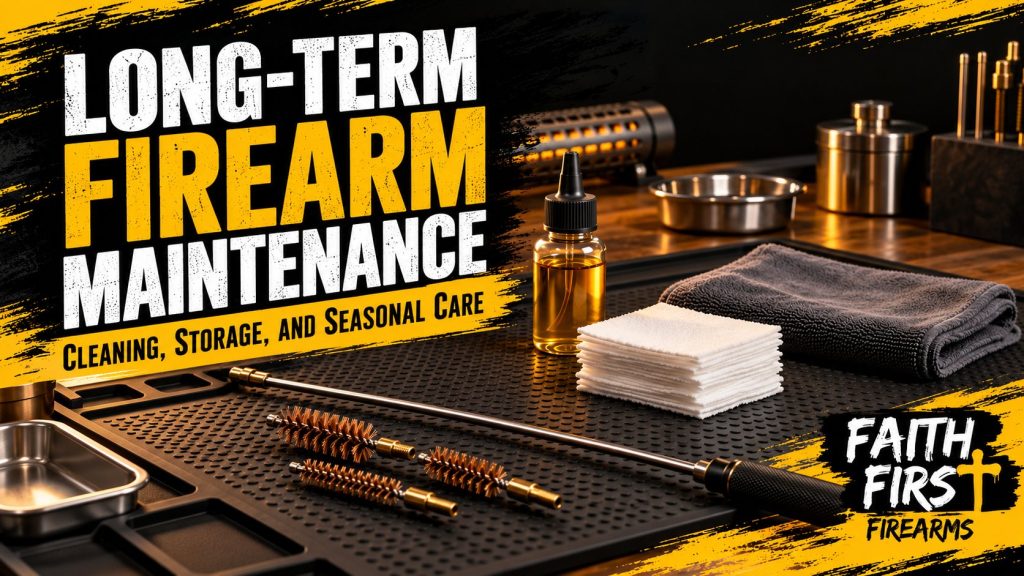
Much of the wear a firearm suffers does not happen at the range. It happens slowly in a closet, a safe or a vehicle, through moisture, handling, and either too much oil or too little. A firearm cleaned with care and stored somewhere dry and stable can stay reliable for generations; one put away damp can start to rust sooner than most owners expect.
This guide covers safe cleaning habits at home, how often cleaning is really needed, how to prepare a firearm for months of storage, and what to check before it goes back into use. It is general guidance, and your owner’s manual is the authority for your specific model.
Cleaning is when experienced owners get careless, because the firearm is “obviously” empty. Treat it as loaded until you have proven otherwise:
For the principles behind these habits, our article on the four rules of firearm safety in real life explains why they overlap on purpose.
No single schedule fits every firearm, and owners debate it endlessly. Start with your owner’s manual, since manufacturers often state their own guidance, and adjust for how the firearm is used and stored.
Some moments call for attention regardless of how much you have shot:
Between full cleanings, a quick routine after each use prevents most problems before they start: unload, wipe down, inspect, and apply a light coat of oil to exposed metal.
The outline below is general. Disassemble only as far as your owner’s manual describes for routine cleaning, and use products intended for firearms.
Whether it is a hunting rifle between seasons or a family heirloom, a firearm going into storage should go in clean, dry and protected.
Remove fouling and moisture first, then leave a thin protective film of oil on metal surfaces and wipe away the excess. Wooden stocks are better served by a light coat of a quality paste wax than by heavy oil. The National Park Service’s guidance for museum firearms follows the same pattern: a small amount of lightweight, non-drying oil on moving parts, the excess removed, and wax on wood.
Rust and wood damage come from moisture and from change, with humidity and temperature swinging back and forth. The goal is steady, moderate conditions out of direct sunlight. A dehumidifier rod or rechargeable desiccant inside a safe helps, and a simple hygrometer tells you whether it is working. In a Texas home, interior rooms almost always beat garages, attics and exterior sheds.
Padded soft cases are made for transport and can hold moisture against a firearm for months. Leather is also a poor long-term companion; the National Park Service advises against storing firearms in leather slings or scabbards because leather can react with the metal. A safe or locked cabinet is the better long-term home.
SAAMI recommends storing ammunition separately from firearms and securing both from children and anyone without your permission. Our Safety and Storage guide covers the locking options in more detail.
While the firearm is out, it is also a good time to update your records: make, model, serial number and a few photographs, kept somewhere separate from the firearm itself.
A stored firearm should not be a forgotten one. A few times a year, and especially as the seasons turn and humidity shifts, open the safe and:
Light surface rust caught early can often be removed with care. Pitting, cracks or anything you are unsure about is a reason to have a qualified gunsmith look at it rather than to experiment.
An inherited firearm, or one with an unknown history, deserves a professional inspection before it is fired, especially if the markings are worn or you are unsure which cartridge it takes.
SAAMI’s safety rules are plain on this point: do not alter a firearm’s trigger, safety or other mechanism, and do not let unqualified people repair or modify it. Take the firearm to a qualified gunsmith when:
Caring for a firearm well is a quiet form of stewardship. It protects what you have been entrusted with, prepares it for the people who may one day inherit it, and keeps safety where it belongs: ahead of convenience.
This content is provided for general educational purposes and is not legal advice. Firearm laws and regulations may change and can vary by jurisdiction. Verify current federal, state, and local requirements before acting.
Our articles are written and reviewed by the Faith First Firearms Editorial Team. We cite primary sources where a claim depends on one, we say plainly when a question falls outside what we can answer, and we route legal, medical, and instruction questions to people qualified to answer them. Faith First Firearms does not provide firearm training.
Faith. Safety. Responsibility.
Prefer personal guidance on ownership, transfers, or your first purchase? Book a consultation.

You have told us that you are under 18 years old, so we are not able to give you access to this site.
If you would like to learn about firearm safety and responsible ownership, Project ChildSafe offers free educational resources:
I confirm that I am at least 18 years old.